1. From the Dashboard, click Settings.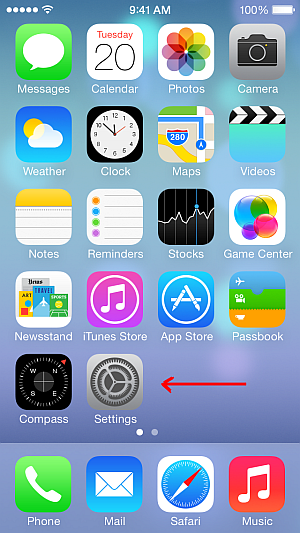
2. Under Settings, select Mail.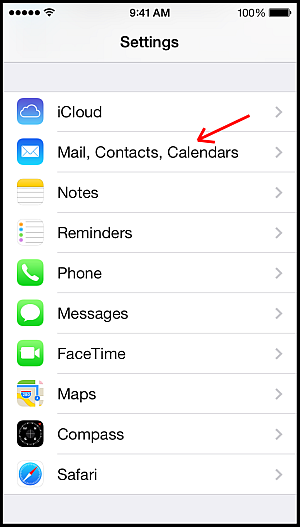
3. Select Add Account.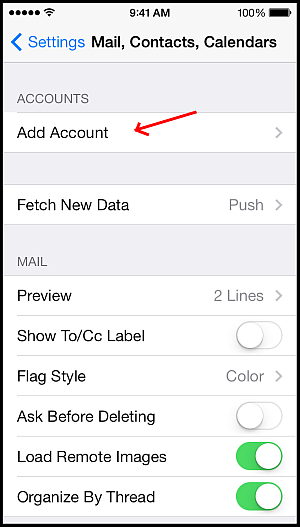
4. Select Other as the type of account.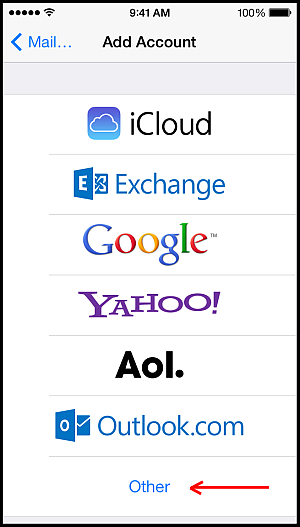
5. Select either POP or IMAP. If you're unsure which to choose, you probably want IMAP.
6. Enter the requested information:
- Name: the name you want to display, say for eg: Joe Blogs
- Address: user@mydomainname.com eg: joe@joeblogs.com
- Description: a description of the mail user eg: Joe Blogs Email
- Host Name: mail.mydomainname.com [where MX is configured] eg: mail.joeblogs.com
- User Name: user@mydomainname.com, eg: joe@joeblogs.com
- Password: the password for your email address eg: ~Joe123#7%^
7) Click Save.
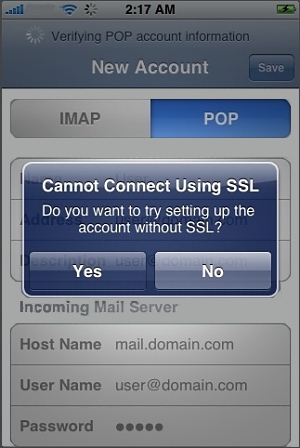
8) If you see a message that says "Cannot Connect Using SSL", click Yes when asked to setup the account without SSL.
9) Click Save.
10) Click Settings for the account you just created.
11) Click Advanced.
12) Set Incoming Uses SSL and Outgoing Use SSL to OFF.
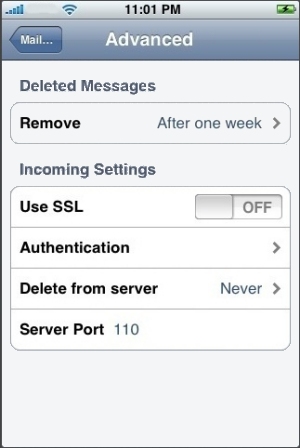
13) Under Incoming settings, click Authentication and select Password.
14) Under Outgoing settings, click Authentication and select Password.
Also check you have the correct Outgoing Mail Server (SMTP) Port settings for your account, this could be 25, 26 or 587 depending on the server. If you are not sure please submit a Support Ticket.
Now try sending and receiving emails, it should work.
These are great Tutorials on how to use your Email on your iPhone:


